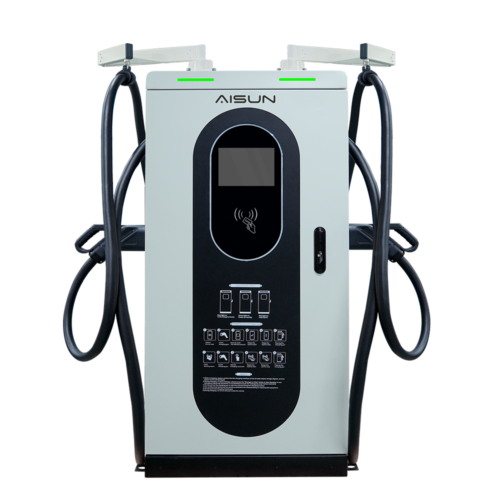


User-friendly
Manage charging through LCD display+TP+LED+buttons.
Superior Electrical Performance
Our PFC+LLC soft switching technology delivers high conversion efficiency and power density.

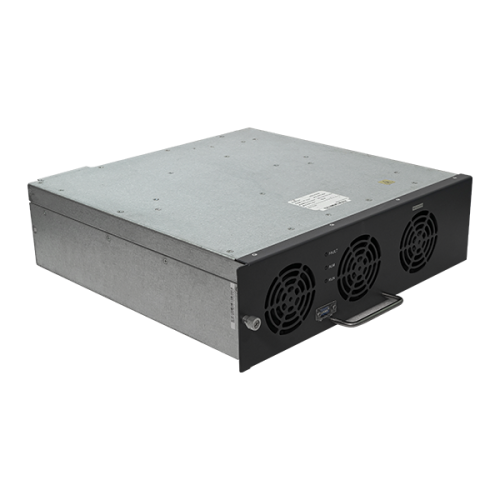
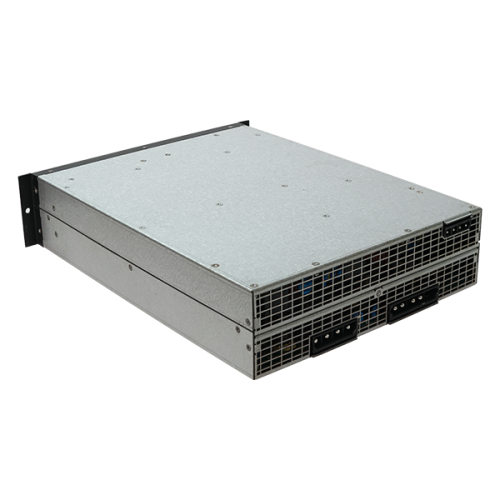
Modular Design
Hot-swap and modularized design simplify component maintenance and decrease MTTR (Mean Time To Repair).
High Quality
CE and UL certified by TUV.